
Have you ever missed a fast counter-attack simply because your paddle couldn’t get there in time? In pickleball, fractions of a second decide who wins the rally.
Where you hold your paddle vertically between shots—known as your pickleball paddle height ready position—has an outsized effect on your reaction time and court coverage. If your paddle is out of position, you are playing catch-up before your opponent even strikes the ball.
What Exactly Is Paddle Height?
Paddle height is the precise vertical zone where you rest your paddle during the brief window between shots. It is a distinct mechanical checkpoint separate from your grip style or footwork stance, and it acts as your “home base” on the court.
💡 The Biomechanical Reality: The Coverage-Distance Argument
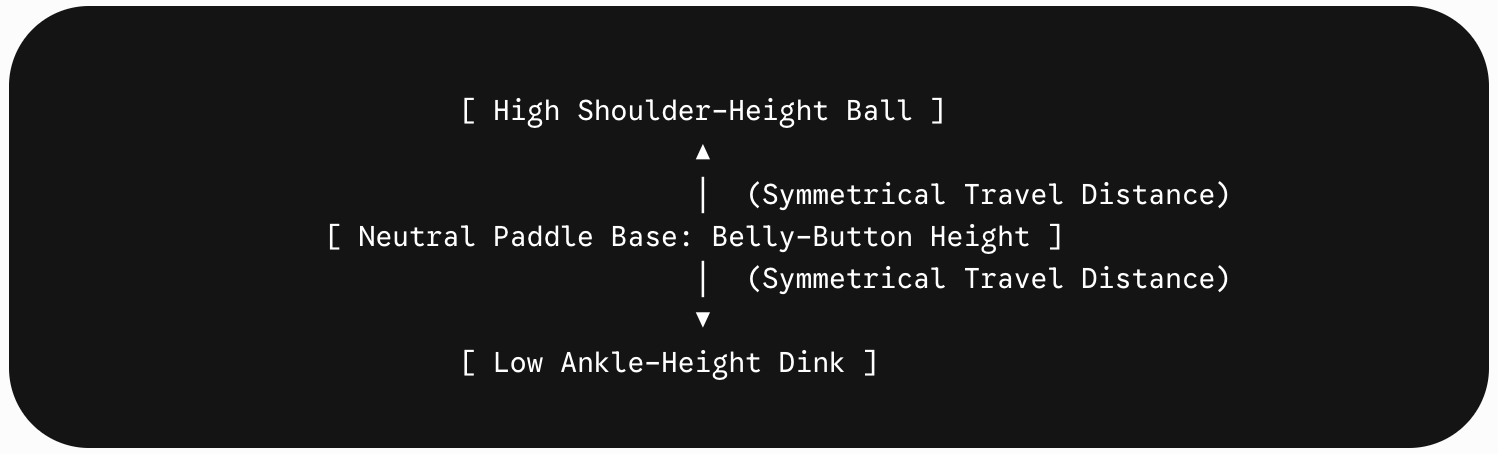
Most playable balls travel downward into a primary hitting zone located between your knees and your shoulders. Centering your paddle near your belly button (navel) gives you an equidistant window to move up for a high ball or down for a low one. It isn’t an aesthetic preference; it is a mathematical calculation to minimize paddle travel time.
Quick Summary
-
The Default: Belly-button height, centered, with a slight elbow bend forming a relaxed “triangle” in front of your body.
-
At the Kitchen Line: Raise and tilt the paddle face slightly toward a 10 to 11 o’clock angle (for righties) to establish a protective backhand bias.
-
The Golden Rule: Snap back into this exact position after every single shot, including your own.
-
The #1 Amateur Mistake: Dropping the paddle to the thighs between shots is the single most common cause of getting jammed by speed-ups.
How to Execute the Perfect Ready Position
To master your paddle height across different court zones, use this quick checklist:
1. The Default Height (Forearm & Elbow)
Hold the paddle handle roughly at belly-button height. Keep the paddle face relatively upright. Your elbows should have a comfortable, slight bend, pushing the paddle forward and away from your torso. This creates a structural triangle between your paddle tip and both elbows.
2. Lock It in Your Peripheral Vision (Eyes)
Never look down to check your paddle. Keep it high enough that it sits naturally in the lower rim of your peripheral vision. Your eyes must remain locked entirely on the opponent’s paddle face and the ball.
3. Adjust at the Non-Volley Zone (Wrist & Angle)
When you transition to the kitchen line, the distance between you and your opponent shrinks to just 14 feet. You have less time to react.
-
Right-Handed Players: Rotate the paddle face slightly to the 10 or 11 o’clock position.
-
Left-Handed Players: Rotate to the 1 or 2 o’clock position.
This minor tweak creates a backhand-biased ready position. Defending your torso or feet with a forehand requires awkward joint contortions. A backhand block, however, acts as a shield that can easily sweep across your entire chest, midsection, and non-dominant shoulder.
4. The Active Reset (Whole Arm)
The ready position is a dynamic state, not a static posture. Do not let your paddle dangle or linger wherever your follow-through happened to finish. The millisecond the ball leaves your strings, consciously snap your arm back to your belly-button home base.
Common Mistakes & The Real Cost on Court
| Mistake | Penalty | The Instant Fix |
|---|---|---|
| Dropping the paddle to hip/thigh level | Leaves you completely defenseless against chest-high speed-ups and drives. | Build muscle memory by drilling the “active reset” immediately after every stroke. |
| Holding the paddle too close or too far | Smothers your swing room or pushes the paddle outside your peripheral view. | Maintain a relaxed elbow bend, keeping the paddle roughly 8–12 inches out from your navel. |
| Static chest-high placement everywhere | Forces you to move your paddle downward for low dinks, and leaves you moving away from your natural center of gravity. | Lower your paddle to your belly button, and bend your knees deeper to lower your body, not just your arms. |
The Danger Zone: Avoid the “Chicken Wing”
When you fail to maintain a 10 to 11 o’clock backhand bias at the net, experienced opponents will target your dominant hip and shoulder. Without a pre-set backhand angle, you will be forced into an awkward, panicked forehand “chicken wing” flare that pops the ball up for an easy overhead smash.
Frequently Asked Questions
Should my paddle height change at the baseline versus the kitchen?
Yes. At the baseline, you have more time to react to the ball’s trajectory. You can hold your paddle in a more neutral, 12 o’clock “edge-on” profile at belly-button height, allowing you to easily turn your shoulders into a full forehand or backhand groundstroke ground setup. At the kitchen, you must switch to the 10 or 11 o’clock backhand bias to prepare for rapid-fire volleys.
Why do some pros look like they hold the paddle lower?
If a player looks like their paddle is closer to their knees, look at their legs! Top-tier players drop into a deep, athletic squat at the kitchen line. Their paddle is still technically held at belly-button height relative to their torso, but their entire body is lowered to track the ball right above the net tape.
Is a full 9 o’clock backhand ready position bad?
Yes. Over-committing to a flat 9 o’clock backhand means you have completely closed off your forehand wing. If an opponent catches you with a fast, wide drive to your dominant side, you won’t have time to flip the paddle face open. Stick to 10 or 11 o’clock for the ultimate balanced coverage.
Next Posts
The Pickleball Split Step
The pickleball split step explained — exact timing relative to your opponent's contact, the mechanics, and why most players get the timing wrong.
Pickleball Stance: Closed, Semi-Open, and Open Explained
Pickleball stance explained — closed, semi-open, and open foot positions, when to use each, and why your stance determines your recovery speed.
Closed Stance in Pickleball
Closed stance in pickleball explained — exact foot position, why it maximizes power, and the recovery-step cost that makes it situational.
continue reading
Related Posts
Pickleball sliding practice explained — how a controlled slide spreads deceleration force over distance instead of one hard stop, and how to train it off-court.
Wide stance deceleration in pickleball explained — why sudden stops stress the knees and ankles, and how a wider base distributes that force safely.
Pickleball lob footwork explained step by step — the pivot, drop step, and shuffle or crossover run that replaces backpedaling for any lob.